How to Make a Gift Bag from Wrapping Paper
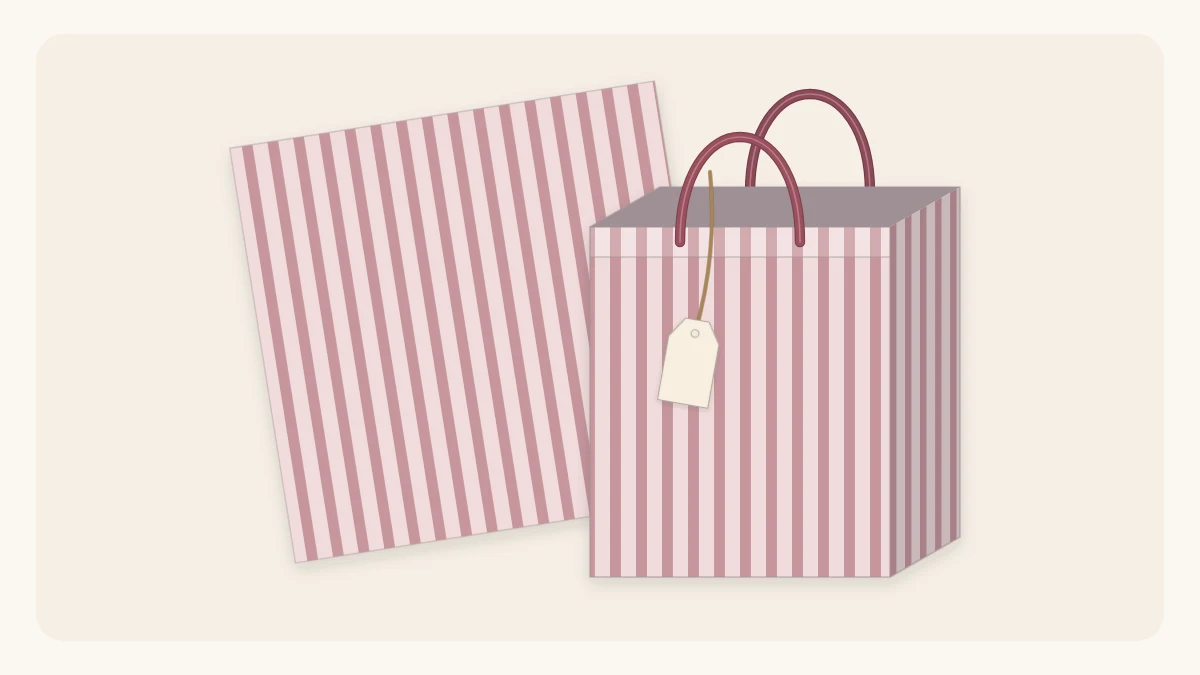
Turn one sheet of wrapping paper into a standing gift bag with a flat base, a folded cuff and ribbon handles, using only folds, tape and a hole punch.
Tutorial at a glance
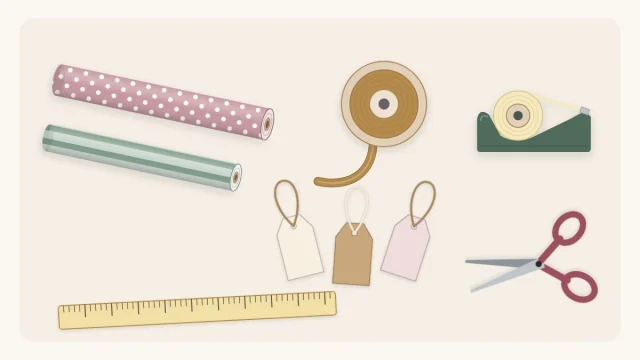
Materials
- Medium-weight or kraft paper
- Clear or double-sided tape
- Scissors and ruler
- Hole punch
- Ribbon or twine
- Thin card for the base
Knowing how to make a gift bag from wrapping paper solves a problem every wrapper meets sooner or later: a gift with no box and no flat sides. A plush toy, a pair of socks or a bundle of small items is awkward to wrap, but it drops neatly into a bag.
The bag is made from one sheet, a few folds and some tape. Once you have seen how the bottom goes together it is quick to repeat, and it can match the rest of your wrapping exactly.
Choose paper that can stand up
Paper choice matters more here than in ordinary wrapping, because the bag has to hold its own shape. Medium-weight matte paper or kraft paper works well. Thin glossy paper sags, tears at the handle holes and will not stand. If you are not sure what is on your roll, the guide to the types of wrapping paper explains how to tell them apart.
Homemade paper bags suit light gifts only: clothing, small toys, stationery, a paperback. Anything heavy or sharp-edged needs a box or a sturdier ready-made bag.
What you need
- One sheet of medium-weight or kraft paper
- Clear tape, double-sided tape or a glue stick
- Scissors and a ruler
- A hole punch
- About 1 yd (0.9 m) of ribbon or twine for two handles
- A piece of thin card for the base (optional)
Work out the size of the sheet
The sheet is rolled into a tube, so its long side becomes the distance around the bag and its short side becomes the height. The folded bottom uses up roughly one and a half times the depth of the base, and the cuff at the top takes about 1 in (2.5 cm) more.
You do not need to calculate anything. Wrap the paper loosely around the gift, or around a book of about the right size, and check that the edges overlap with a little room to spare and that there is plenty of height left above the gift.
As a rough example, a sheet about 15 x 12 in (38 x 30 cm) makes a small bag roughly 4 in (10 cm) across the front, 3 in (7.5 cm) deep and 6.5 in (16.5 cm) tall.
How to make the bag
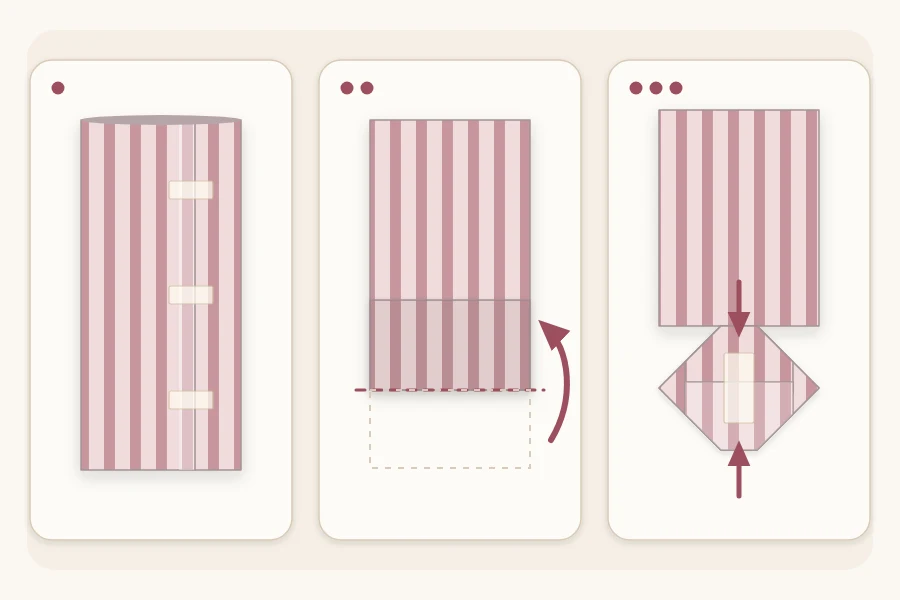
- Lay the sheet wrong side up with the long edges at the top and bottom. Bring the two short edges to the middle so they overlap by about 1/2 in (1.3 cm), and tape or glue the seam along its whole length. Press both side folds flat. You now have a flat tube.
- Fold the bottom edge up by roughly the depth you want the base to be, about 3 in (7.5 cm) in the example. Crease it firmly.
- Open that fold: separate the two layers of the folded-up section, pull them apart and press the corners flat. The section flattens into a diamond with a triangle at each side.
- Fold the top point of the diamond down so it reaches a little past the center, then fold the bottom point up so it overlaps the first.
- Tape along the overlap and over both of its ends, so there are no gaps at the corners of the base.
- For gussets, keep the bag flat and fold each long side in by about half the depth of the base, crease, and unfold again. This step is optional but gives the bag crisp sides.
- Slide a hand inside, open the bag and push the base flat, pinching the side creases inward.
Tip
Make a practice bag from scrap paper first. The diamond fold is much easier the second time, and the test bag shows whether the size suits the gift before you cut good paper.
Add a cuff and handles
A folded cuff doubles the paper at the top edge, which is where a bag is most likely to tear.
- Open the bag and turn the top edge to the inside by about 1 in (2.5 cm), creasing one side at a time.
- Punch two holes through the cuff on the front and two on the back, roughly 1/2 in (1.3 cm) below the top edge and evenly spaced from the center.
- Cut two pieces of ribbon, each about 14 in (36 cm) long.
- Thread the ends of one ribbon through the two front holes from the outside and knot each end inside the bag. Repeat on the back.

Make each knot bulky enough that it cannot slip through its hole; a double knot usually does it. Grosgrain ribbon and twine grip well, while slippery satin may need an extra knot.
Strengthen the base
A piece of card in the bottom helps the bag stand and spreads the weight of the gift. Cut a rectangle of thin card, about the weight of a cereal box, slightly smaller than the base and drop it in. Cover it with a scrap of the same paper if it will be seen.
Watch out
Carry a filled bag with one hand under the base instead of by the handles alone. Paper handles and taped bottoms are for presentation, not for bearing weight.
Fill and finish the bag
Line the bag with two or three sheets of tissue so the ends stand up above the rim and hide the gift. The folding is covered in the guide to wrapping a gift in tissue paper.
A tag tied to one handle finishes it. A scrap of the same wrapping paper glued to card makes a matching one, as shown in how to make gift tags. To close the bag fully, skip the handles, fold the top over twice and seal it with a sticker.
A bottle is usually too heavy for a paper bag made this way. The methods in how to wrap a bottle are a safer choice.
Fixing common problems
- The bag will not stand. The paper is too thin or the base is uneven. Add the card insert, or remake it in heavier paper.
- There are gaps at the bottom corners. The points of the diamond did not overlap enough. Tape across the corners from the inside.
- The handle holes are tearing. Make the cuff deeper so the holes pass through two layers, and lighten the load.
- The sides bulge. Sharpen the gusset creases with a thumbnail or the edge of a ruler.
Frequently asked questions
What kind of wrapping paper works for a homemade gift bag?
Choose medium-weight matte paper or kraft paper. Both hold a crease and are stiff enough for the bag to stand. Thin glossy paper sags and tears at the handle holes, so save it for wrapping boxes. A card insert in the base helps any paper stand better.
How much weight can a paper gift bag made from wrapping paper hold?
Treat it as a bag for light gifts only, such as clothing, small toys or stationery. The base is held by tape and the handles pass through paper, so heavy or sharp-edged items can break it. Support the base with one hand when you carry it.
Can I make a gift bag without handles?
Yes. Leave out the cuff and the holes, place the gift inside, then fold the top edge over twice and close it with a sticker or a strip of double-sided tape. You can also punch two holes through the folded top and thread one ribbon through to tie it shut.