Gift Tag Ideas: Shapes, Layers and Simple Decorations
Easy gift tag ideas using cardstock and scraps: eight shapes to cut, three ways to layer paper and ribbon, simple decorations, and how to match a tag to the wrapping.
The best gift tag ideas need very little: a piece of card, scissors, a hole punch and a few minutes. A tag is the smallest part of a wrapped gift, but it is the part people read, so a little care with it changes how the whole present looks.
Almost everything that makes a tag look considered comes down to three choices: the shape, what you layer on it, and where you stop decorating. Pick one or two of the ideas below per gift instead of stacking them all on the same tag.
Start with the classic tag shape
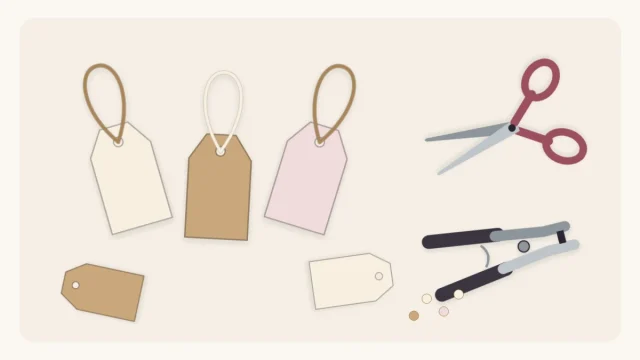
The classic luggage-style tag is a rectangle about 2 x 3.5 in (5 x 9 cm) with the two top corners clipped at 45 degrees and a hole centered about 3/8 in (1 cm) from the top. It suits nearly every gift, leaves plenty of room for two names, and is quick to cut in batches.
Use cardstock or a cut-up cereal-box-weight card so the tag stays flat and the hole does not tear. If you have not cut one before, the step-by-step for making gift tags from cardstock covers measuring, clipping the corners and punching the hole.
Shapes beyond the rectangle
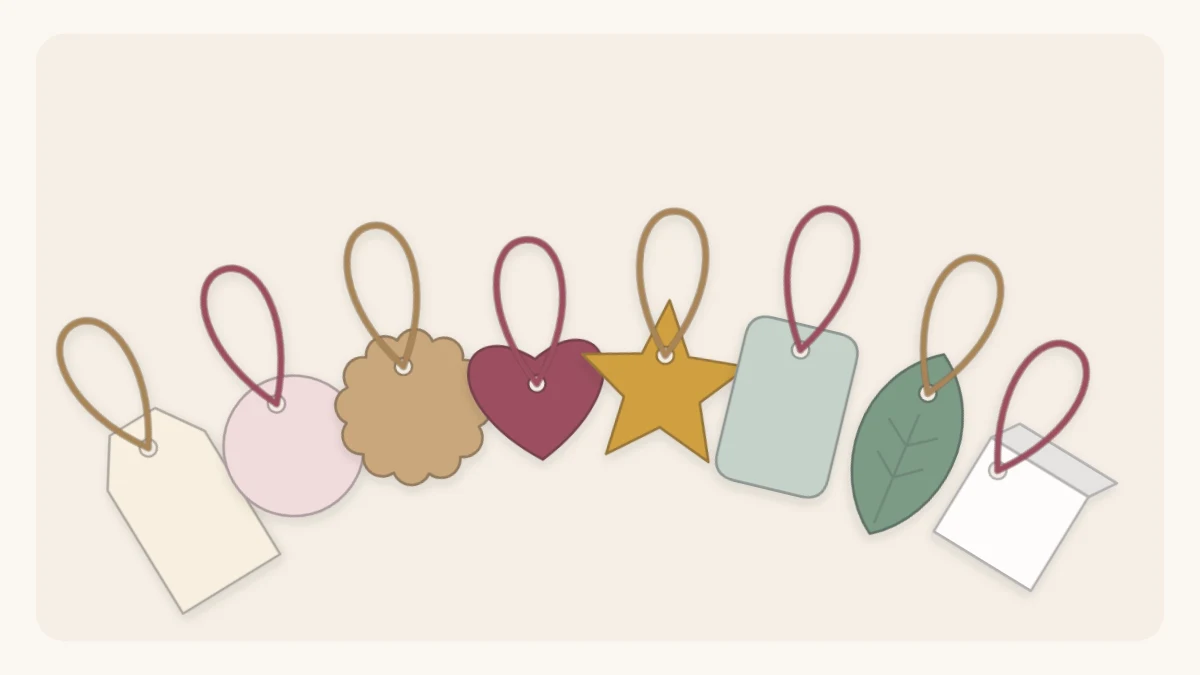
A different outline is the fastest way to make a plain tag feel special, and most shapes can be traced around something already in the house.
- Circle: trace a drinking glass, a jar lid or a ribbon spool. About 2 to 2.5 in (5 to 6 cm) across is a useful size.
- Scalloped circle: draw a circle, then cut small half-round bumps along the line, or use decorative-edge scissors.
- Heart or star: fold the card lightly in half, draw half the shape against the fold and cut, so both sides match. A heart tag suits Valentine’s Day wrapping especially well.
- Rounded rectangle: snip each corner in a small curve. Trace a coin on one corner first to keep the curves equal.
- Leaf: a pointed oval with a short stem. Crease it lightly down the middle for a vein.
- Folded tag: a small rectangle folded in half like a tiny card, with the names on the front and a short message inside.
Tip
Cut one good version of each shape from stiff card and keep it as a template. Tracing around it is much quicker than measuring every time, and all your tags come out the same size.
Add a layer
Layering means gluing a second, smaller piece on top of the tag. It adds color and depth without any drawing skill, and it is a good use for scraps too small for anything else.
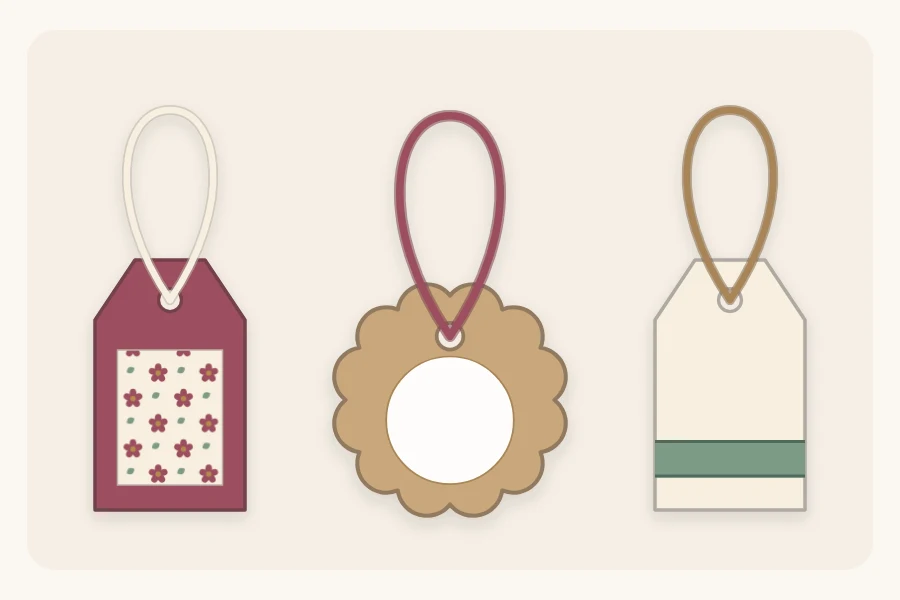
- Patterned panel on a solid tag: cut a piece of patterned paper slightly smaller than the tag, leaving a border of about 1/8 in (3 mm) all around.
- Circle on a scalloped circle: a plain circle centered on a slightly larger scalloped one in a contrasting color gives a clean spot to write on.
- Ribbon strip: run a short length of ribbon across the bottom third of the tag and fold the ends to the back.
A glue stick or double-sided tape works better than liquid glue here. Wet glue soaks into thin paper and leaves the tag wavy once it dries. Punch the hole after the layers are stuck down so it passes cleanly through every piece.
Simple decorations that do not need drawing skills
Small, repeated marks look deliberate even when they are not perfectly even. Try one of these and leave the rest of the tag blank.
- Dots stamped with the eraser end of a pencil pressed into an ink pad.
- A thin border drawn about 1/8 in (3 mm) inside the edge, using a ruler and a fine pen.
- Twine wrapped three or four times around the lower part of the tag and knotted at the front.
- A single small shape, such as a paper heart or star, glued in one corner.
Keep at least half of the tag clear. A tag covered edge to edge leaves nowhere for the names, which is the one job it has.
Tags made from leftovers
Some of the nicest tags come from material that would otherwise be thrown away, and they match the gift automatically.
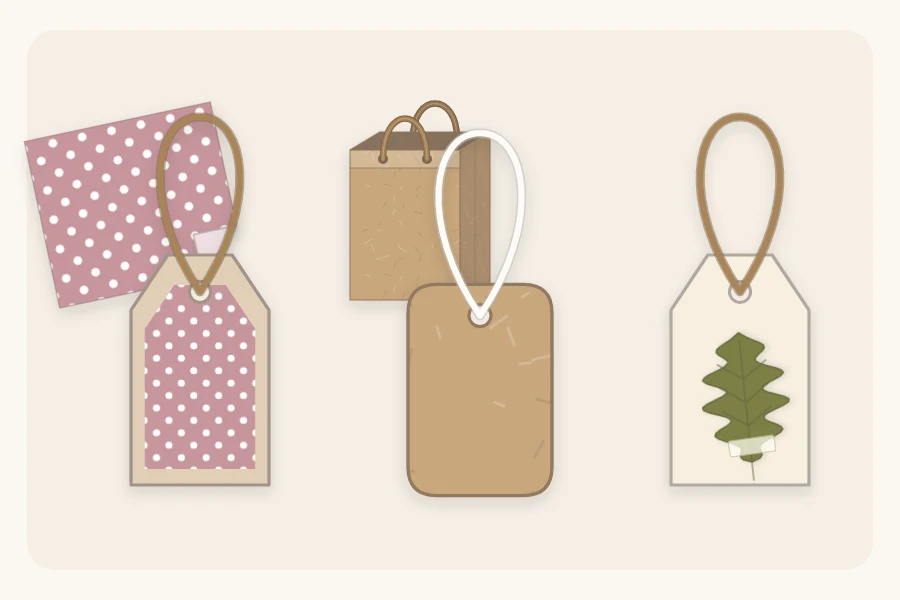
Wrapping paper is too thin to hang on its own, so glue an offcut to card first and then cut the shape out of both layers together. Strips left over after cutting tags can go toward a paper bow made from scraps.
A plain brown paper bag is another good source. The paper is strong, takes pen and stamps well, and pairs naturally with kraft paper wrapping. Cut tags from the flat panels and avoid the creased folds.
For a natural detail, fix a pressed, fully dry leaf to a plain tag with a dab of glue or a narrow strip of clear tape across the stem. Pressed leaves are fragile, so add them last.
Match the tag to the wrap
A tag looks best when it repeats one thing from the wrapping, either a color, a pattern or a texture, and contrasts with everything else.
| Wrapping | Tag idea | Tie with |
|---|---|---|
| Busy patterned paper | Plain solid tag in one color from the pattern | Narrow ribbon |
| Solid paper | Tag layered with a patterned panel | Baker’s twine |
| Kraft paper | White or cream circle, or a leaf shape | Jute twine |
| Plain white paper | Small tag in one strong accent color | Thin string |
If you like a pared-back look, a single small tag on thin string can be the only decoration on the gift, an approach covered in more detail under minimalist gift wrapping.
Leave room to write, then attach
Write the names on the tag before you attach it. Writing on a tag that is already hanging from a ribbon is awkward and tends to smudge. Test your pen on a scrap of the same card first, since glossy card can make some inks bead and smear.
A reinforcement ring, or a second small circle of paper glued over the hole, keeps the string from tearing through. From there, the tag can be tied into the bow, slipped under a ribbon or stuck flat to the paper; the guide to attaching a gift tag shows each option.
Watch out
Scissors and craft knives are sharp, so children cutting shapes need adult help. Keep string, twine and small glued-on decorations away from babies and pets.
Frequently asked questions
What paper is best for homemade gift tags?
Cardstock is the easiest choice because it stays flat and holds a punched hole without tearing. Card cut from a cereal-type box works just as well if you cover the printed side with plain or patterned paper. Ordinary printer paper and wrapping paper are too thin alone, so glue them to card first.
How big should a gift tag be?
A rectangle of roughly 2 x 3.5 in (5 x 9 cm) suits most medium gifts and leaves space for two names. Go smaller for jewelry-size boxes and larger for big boxes. As a rough guide, the tag should be clearly smaller than the bow so it does not compete with it.
Can you make gift tags without a hole punch?
Yes. Push a sharp pencil point or a skewer through the card onto a folded towel to make a small hole, with adult help for children. You can also skip the hole completely by making a folded tag that hangs over the ribbon, or by sticking the tag flat with double-sided tape.