How to Make a Paper Bow from Wrapping Paper Scraps
Turn leftover wrapping paper into a flat bow with three strips and a little glue. Includes strip sizes for small, medium and large bows.
Tutorial at a glance
Materials
- Wrapping paper scraps
- Scissors
- Ruler and pencil
- Glue stick or double-sided tape
- Thin card for backing (optional)
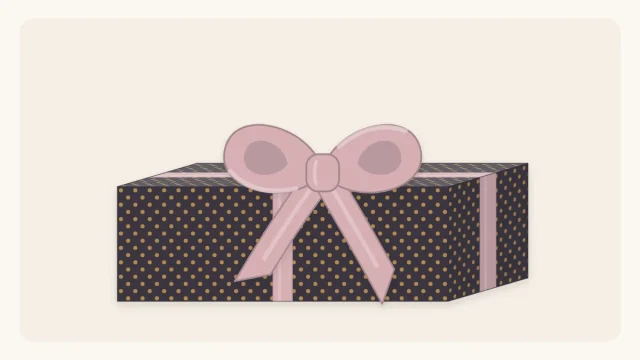
Once you know how to make a paper bow, the offcuts left over after wrapping stop being waste. Three strips of paper and a little glue give you a flat, tidy bow that matches the gift exactly, because it comes from the same sheet.
A paper bow is also a practical choice. It lies almost flat, so gifts can be stacked or slipped into a bag without crushing anything, and it costs nothing when the ribbon has run out.
What you need
- Wrapping paper scraps, or any decorative paper
- Scissors, plus a ruler and pencil
- A glue stick or double-sided tape
- Optional: thin card or plain paper for backing
Paper weight makes a real difference here. Matte, medium-weight paper is the easiest to fold and keeps a rounded loop. Kraft paper is strong and forgiving. Thin glossy paper tends to collapse and shows every crease, while foil papers crease permanently and are slippery to stick. The guide to types of wrapping paper explains how each kind behaves.
Cut the three strips
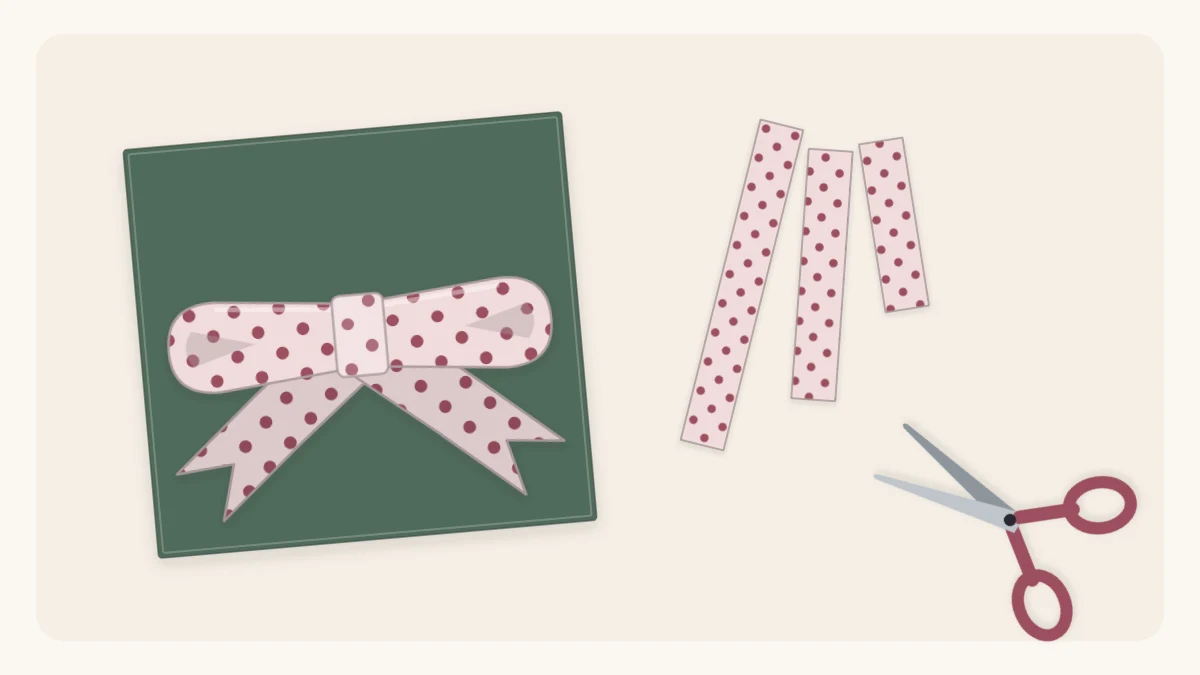
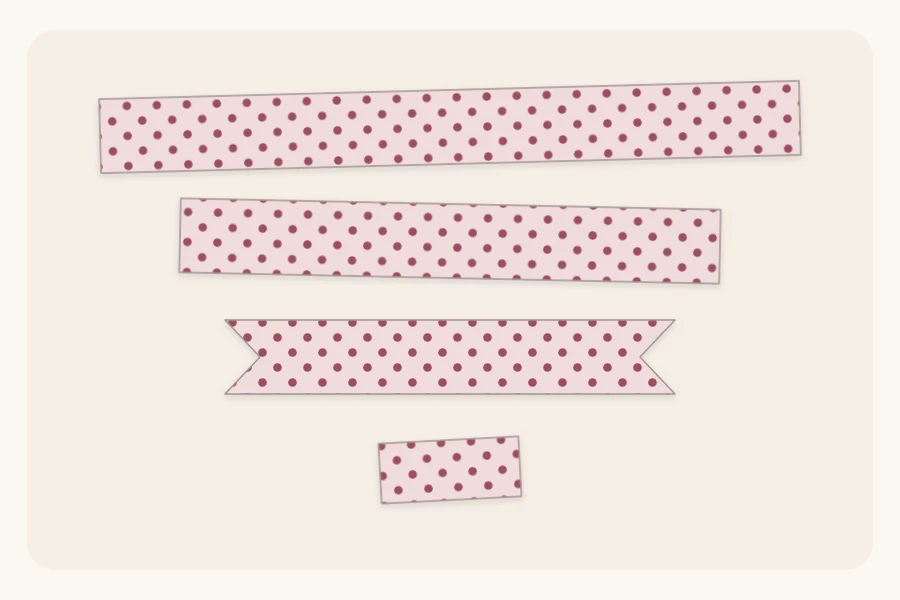
A flat paper bow has three parts: a long strip that forms both loops, a shorter strip that forms the tails and a small strip that wraps around the middle. These example sizes make a bow about 4 in (10 cm) wide, right for a small to medium gift.
- Loops: one strip 1 x 8 in (2.5 x 20 cm)
- Tails: one strip 1 x 5 in (2.5 x 13 cm)
- Center band: one strip 1/2 x 2.5 in (1.3 x 6 cm)
Mark the strips on the back of the paper with a ruler and pencil, then cut along the lines. Straight, parallel edges matter more than exact measurements, since a wobbly edge shows on the finished loops.
Now shape the tails. Fold each end of the shorter strip in half lengthwise and cut at an angle from the fold toward the open edges. Unfolded, each end has a neat V notch.
Tip
If the scraps are thin, stiffen them before cutting. Glue the paper onto plain paper or thin card, or cut each strip twice as wide and fold it in half lengthwise with the pattern outside.
Assemble the bow
- Lay the long strip face down and find its middle. A light pencil dot on the back is enough.
- Put a dab of glue or a small piece of double-sided tape on the middle.
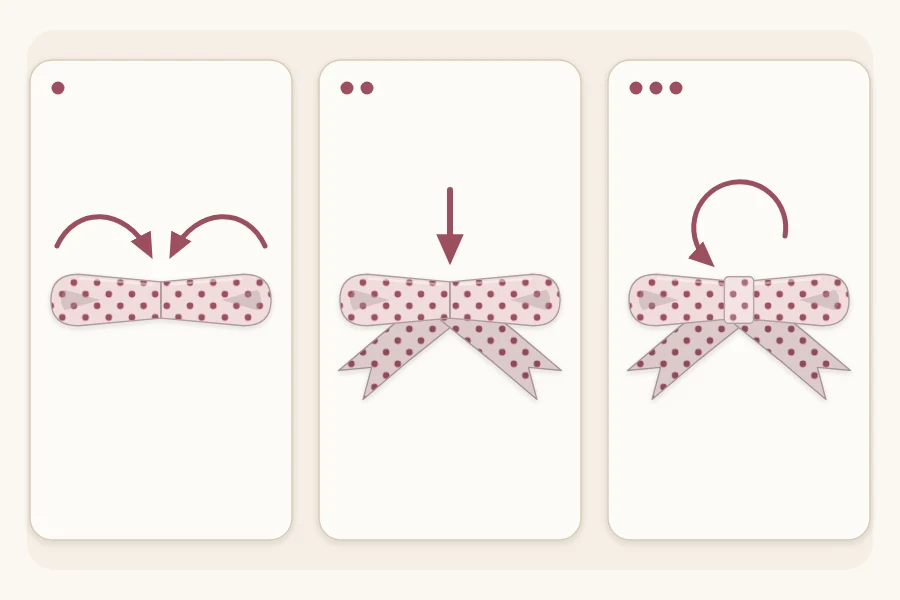
- Curl one end of the strip over, without creasing it, and press it onto the middle. Do the same with the other end so both ends meet at the center. You now have two loops.
- Pinch the center gently if you want a slight gather, or leave it flat for a crisper look.
- Stick the loops across the middle of the tail strip. For angled tails, bend the tail strip into a shallow upside-down V first.
- Wrap the small strip around the middle, covering the joins, and glue or tape its ends together at the back.
Press the center for a few seconds while the glue grabs. Then slide a finger into each loop and round it out.
Scale the bow up or down
To change the size, keep the proportions and multiply every measurement by the same amount. The loop strip is always about eight times as long as it is wide.
| Bow size | Loops strip | Tails strip | Center band |
|---|---|---|---|
| Small | 1 x 8 in (2.5 x 20 cm) | 1 x 5 in (2.5 x 13 cm) | 1/2 x 2.5 in (1.3 x 6 cm) |
| Medium | 1.5 x 12 in (4 x 30 cm) | 1.5 x 7.5 in (4 x 19 cm) | 3/4 x 3.75 in (2 x 9.5 cm) |
| Large | 2 x 16 in (5 x 40 cm) | 2 x 10 in (5 x 25 cm) | 1 x 5 in (2.5 x 13 cm) |
Larger bows need stiffer paper. A loop that stands up at 1 in (2.5 cm) wide may sag at 2 in (5 cm), so back the paper with thin card for the large size.
Make a fuller, double-layer bow
For more volume, add a second set of loops. Cut another loop strip about 2 in (5 cm) shorter than the first, fold its ends to the center in the same way, and stick it on top of the first loops before wrapping the band around both.
Mixing papers works well for this. Try a patterned bottom layer with a solid top layer, or the plain reverse side of the paper against the printed side. A slightly longer center band, cut about 1/2 in (1.3 cm) longer, will reach around the extra thickness.
Attach the bow to the gift
A square of double-sided tape on the back of the center band is all a paper bow needs. Press it onto the wrapped gift at the center, or toward one corner for a more relaxed look.
The bow sits nicely on top of a paper band, too. A strip of contrasting paper around the box, as shown in layered gift wrapping, gives the bow a background and makes a same-paper bow stand out instead of disappearing into the pattern.
If ribbon is already tied around the box, stick the paper bow over the crossing point in place of a tied bow. The steps for crossing ribbon are in how to tie a bow on a gift box; simply finish with a flat knot and cover it.
Fixing common problems
- The loops are flat or creased. The ends were folded instead of curled. Roll each end over loosely and press only at the center.
- The loops are different sizes. The middle mark was off. Fold the strip in half lightly to find the true center before gluing.
- The bow pops open. Glue stick can be weak on coated paper. Switch to double-sided tape.
More uses for paper scraps
Strips left over after the bow can be turned into other toppers. A pleated strip becomes a rosette, and small cut shapes make quick decorations, both covered in decorative gift toppers. Slightly larger offcuts glued to card are ideal for matching tags, with more suggestions in these gift tag ideas.
Plain kraft and uncoated paper scraps can be reused in all these ways. Glittery, foil or plastic-coated papers often cannot go in paper recycling in many areas, so check local guidance.
Frequently asked questions
What kind of paper works best for a paper bow?
Matte, medium-weight wrapping paper and kraft paper are the easiest, because they curl into a loop without cracking and keep their shape. Very thin or glossy paper tends to flop and shows creases. If thin paper is all you have, glue it to plain paper or fold each strip double before assembling.
Should I use glue or tape for a paper bow?
Either works. A glue stick is tidy on uncoated paper and gives a moment to adjust the loops. Double-sided tape holds instantly and is the better choice on coated, glossy or foil papers, where glue stick often peels away. Liquid glue can wrinkle thin paper, so use it sparingly.
How do I make a bigger paper bow?
Multiply every strip measurement by the same amount so the proportions stay the same. Doubling the example sizes gives a loop strip of 2 x 16 in (5 x 40 cm). Bigger loops are heavier, so use stiffer paper or back it with thin card to stop the bow from sagging.