How to Curl Ribbon with Scissors
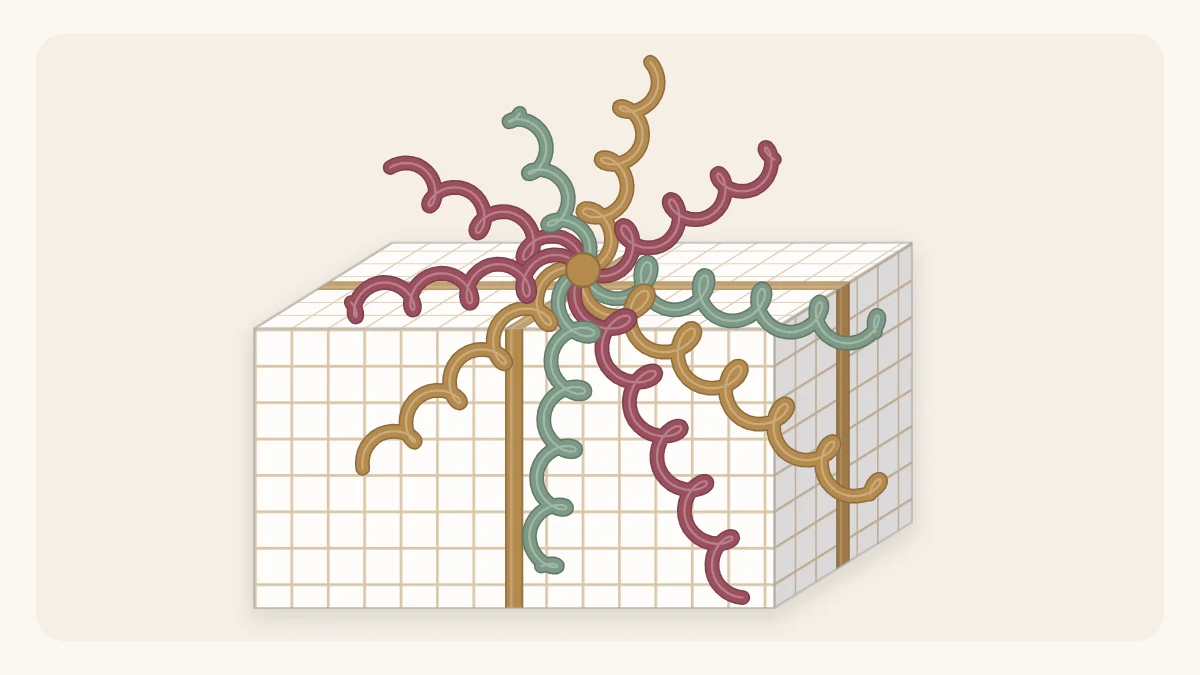
Curl ribbon with one pull across a scissor blade, control how tight the spiral is, and build a full cluster of curls to top a gift.
Tutorial at a glance
Materials
- Curling ribbon in one to three colors
- Scissors with a straight blade
- A wrapped gift
Knowing how to curl ribbon is one of the quickest ways to finish a present. One pull across a scissor blade turns a flat strand into a springy spiral, and a handful of spirals makes a cheerful topper that needs no bow-tying skill at all.
The technique is easy, but it only works with the right ribbon and a steady hand. Here is what to buy, how to hold the scissors and how to control whether you get a gentle wave or a tight ringlet.
Which ribbon will curl
Only curling ribbon curls this way. It is the narrow, plastic-type ribbon, usually about 3/16 in (5 mm) wide, sold on small spools. Pulling it across an edge stretches one face more than the other, and the strand coils up as a result.
Fabric ribbons do not respond. Satin, grosgrain and sheer ribbon will simply fray or scuff if you drag them over a blade, so save those for tied bows. If you are putting together a first kit, the list of gift wrapping supplies covers what else is worth having.
What you need
- Curling ribbon in one to three colors
- Scissors that open wide, with a straight blade
- A wrapped gift to tie the ribbon to
The blade does not need to be especially sharp for curling, since you are using its edge as a scraper, not cutting. The back of a butter knife or the edge of a ruler gives a looser curl and is a gentler choice when children want to join in.
Watch out
Open scissor blades are sharp. Keep your fingers behind the edge, pull the ribbon away from your body, and give adult help to any child doing this step with a blade.
How to curl ribbon step by step
Tie the ribbon to the gift first. Curling a strand that is anchored at one end is far easier than curling a loose piece.
- Cut a length about 24 in (60 cm) long and knot its middle around the ribbon on the gift, so two strands of about 12 in (30 cm) hang free.
- Look at the ribbon. One face is usually shinier and the other more matte, and a strand cut from the spool already bends slightly one way. The matte, naturally curving side goes toward the blade.
- Open the scissors wide and hold them by one handle, blade facing up.
- Lay the ribbon across the blade close to the knot and press it against the edge with your thumb.
- Hold the gift steady, or grip the ribbon near the knot with your other hand, and pull the scissors along the ribbon to its end in one steady motion.
- Let go. The strand springs into a spiral.
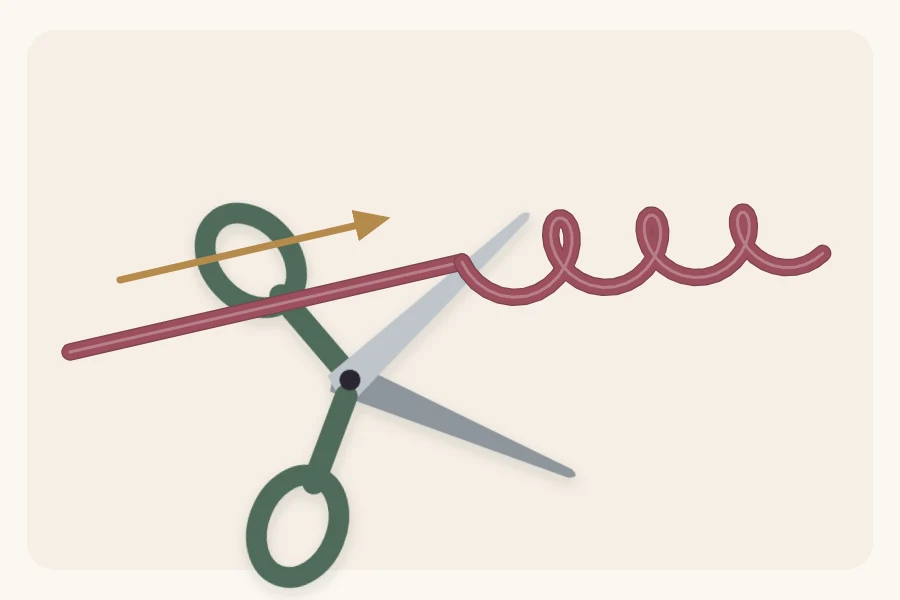
If nothing happens, flip the ribbon over and try the other face. If the curl is weak, run the blade along the same strand a second time.
Control how tight the curl is
Two things decide the result: how hard your thumb presses and how quickly you pull. Firmer pressure and a slower pull give tighter curls. A light touch and a quick pull give soft waves.
| Curl | Thumb pressure | Pull speed |
|---|---|---|
| Loose wave | Light | Quick |
| Medium spiral | Moderate | Steady |
| Tight ringlet | Firm | Slow |
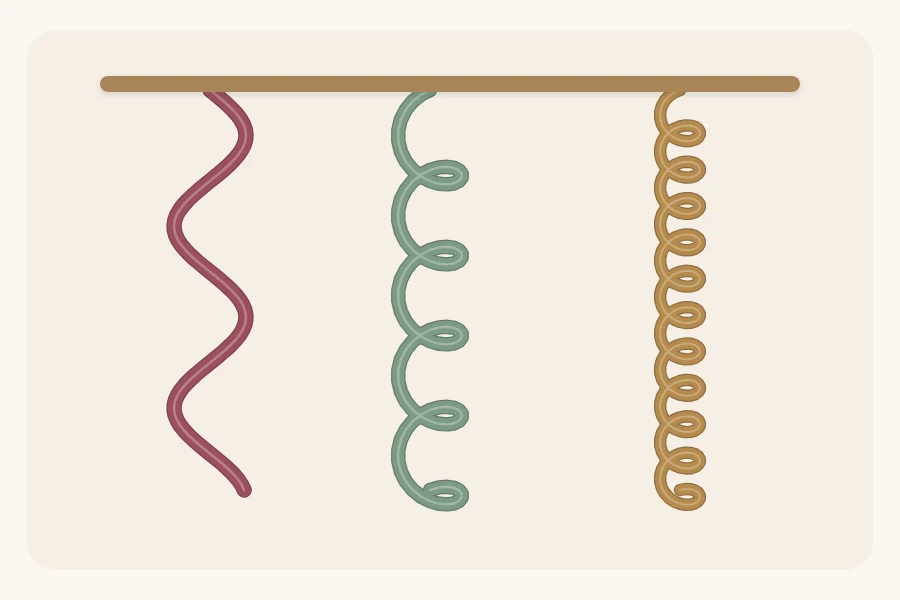
There is a limit. Pressing too hard can snap the ribbon or strip its surface, leaving a pale, stretched streak. Practice on a spare piece until you find the pressure that curls without damage.
Build a full cluster of curls
A single spiral looks thin. A cluster looks deliberate. To build one, tie several lengths around the same point.
- Cut four to six pieces, each about 24 in (60 cm) long. Mixing two or three colors adds depth.
- Hold them together as a bundle and knot the middle of the bundle around the ribbon on the gift, or around the knot of an existing bow.
- Curl each strand separately. Curling several at once gives uneven results.
- Vary the pressure so some strands are tight and others loose, then arrange the curls so they spill over one side.
For extra fullness, split a strand lengthwise. Snip into the end and pull the two halves apart; curling ribbon tears cleanly along its length, giving two finer curls from each piece.
Tip
Cut strands longer than you think you need. A tight curl can shorten a strand to less than half its flat length, and trimming a long curl is easier than adding one.
Where curled ribbon works best
Curls are light and springy, so they suit gifts that have no flat place for a bow. Tie them around the gathered neck of a pouch, the twisted ends of a cylinder or the top of a bottle; the shapes are explained in how to wrap odd-shaped gifts.
They also pair well with other bows. Tuck a few spirals under a tied bow after learning how to tie a bow on a gift box, or add them beneath a layered ribbon bow for a mix of textures. On a gift with a flat paper bow, two or three curls tucked behind the center soften the straight lines.
Fixing common problems
- The ribbon will not curl. The wrong face is against the blade, or the ribbon is a fabric type. Flip it over, or check that it really is curling ribbon.
- The curl is limp. Press harder and pull more slowly, or go over the strand again.
- The ribbon snaps. Too much pressure. Ease off and keep the pull smooth instead of jerky.
- The curl is uneven. The pull stopped and started. Begin close to the knot and do not pause until the end of the strand.
- The curls got squashed. Run the blade lightly along them again; curling ribbon can usually be refreshed.
Storing and transporting curled gifts
Curls flatten under weight, so place curled gifts on top of a stack, not beneath it. If presents must travel in a bag, tie the strands on at home and curl them on arrival, which takes only a minute.
Keep loose strands, offcuts and finished curls away from babies and pets, since long, thin ribbon is a hazard if chewed or swallowed. Sweep up the trimmings when you finish.
Frequently asked questions
Why won't my ribbon curl?
Most often the ribbon is the wrong type. Only narrow plastic-type curling ribbon forms spirals; satin, grosgrain and other fabric ribbons do not. If it is curling ribbon, turn it over so the other face touches the blade, press a little more firmly with your thumb and pull more slowly.
Can I curl ribbon without scissors?
Yes. Any firm, fairly thin edge will do the job, such as the back of a butter knife or the edge of a ruler. The curls are usually looser than with a scissor blade, but the method is the same: hold the ribbon against the edge with your thumb and pull steadily.
How do I make ribbon curls tighter?
Increase the pressure of your thumb and slow the pull down. Running the blade over the same strand a second time also tightens it. Stop if the ribbon turns pale or starts to stretch, because that means the surface is being stripped and the strand is close to snapping.