How to Make a Layered Ribbon Bow by Hand
Fold ribbon into stacked loops, bind the center, fan the loops and cover the binding to make a full multi-loop bow that attaches to any wrapped gift.
Tutorial at a glance
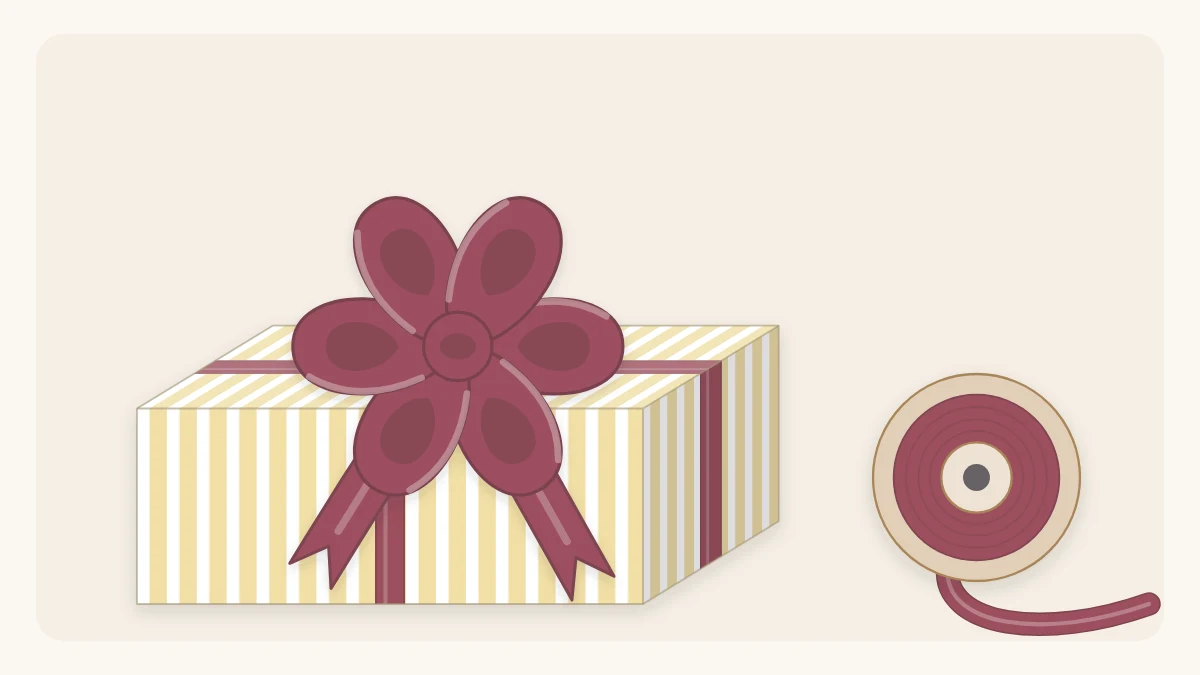
Materials
- Wired ribbon
- Thin craft wire, a twist tie or narrow ribbon
- Sharp scissors
- Double-sided tape
If you want to know how to make a ribbon bow that looks full and generous, the kind with several loops fanned around a neat center, the answer is simpler than it appears. The bow is not tied at all. It is folded, pinched and bound, then attached to the gift as a separate piece.
Because nothing is knotted around the box, you can take your time, redo a loop that looks wrong, and even make the bow a day ahead. The steps below produce a six-loop bow with two tails, sized for a medium box.
What you need
- Ribbon, ideally wired, about 1.5 in (38 mm) wide
- Something to bind the center: thin craft wire, a twist tie or a length of narrow ribbon
- Sharp scissors
- Double-sided tape, or the ribbon already tied around the gift
Wired ribbon makes this bow easiest, because the fine wire along each edge lets you bend every loop into a round shape that stays put. Unwired ribbon works too, although the loops will be softer and flatter.
Watch out
The cut ends of wired ribbon and craft wire are sharp. Fold wire ends back on themselves, and offer adult help if a child is doing the cutting.
How much ribbon to cut
A full layered bow for a medium box takes roughly 2 to 3 yd (1.8 to 2.7 m), depending on the number and size of the loops. That is more than most people expect, so check the spool before you begin.
The simplest approach is to work straight from the spool and cut only when the last loop is folded. Add a separate piece of about 6 in (15 cm) for the center loop.
| Ribbon type | How the loops behave | Best for |
|---|---|---|
| Wired | Hold any shape | Large, full bows |
| Grosgrain | Firm, slightly flat | Small, tidy bows |
| Satin | Soft, tend to droop | Short loops only |
| Sheer or organza | Light and airy | Layering over another ribbon |
Fold the loops
The whole bow is built in one hand, folded back and forth like a ribbon zigzag, while the other hand feeds the ribbon.
- Leave a tail of about 6 in (15 cm) and pinch the ribbon between your thumb and forefinger at that point. This pinch is the center of the bow and never moves.
- Fold the ribbon into a loop about 4 in (10 cm) long on one side and bring it back to the pinch.
- Fold a matching loop on the opposite side and return to the pinch again. That is the first and largest pair.
- Make a second pair on top, each loop about 1/2 in (1.3 cm) shorter than the pair below.
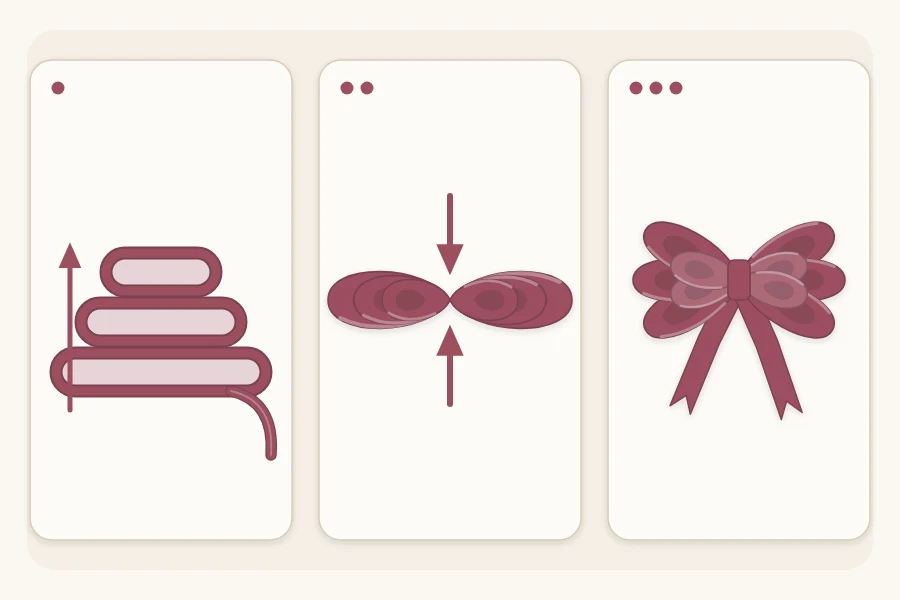
- Make a third, shorter pair on top of that. You now have six loops stacked in three layers.
- Cut the ribbon from the spool, leaving a second tail about the same length as the first.
If the ribbon is printed or shiny on one side only, give it a half twist at the pinch each time you pass the center. The twist flips the ribbon so the good side faces outward on every loop.
Bind the center
Keep the pinch tight and squeeze the stack so the middle gathers into a narrow waist. Wrap thin wire, a twist tie or a piece of narrow ribbon around that waist two or three times and fasten it firmly at the back.
The binding has to be tight. A loose center is the usual reason a layered bow slides apart or will not fan evenly. Leave the ends of the binding long for now, since they are useful for tying the bow onto the gift later.
Fan and shape the loops
- Hold the bound center and pull the bottom pair of loops out to the left and right.
- Rotate the middle pair so the loops point diagonally, filling the gaps.
- Turn the top pair the other way, so the six loops spread into a rough circle.
- Slide a finger inside each loop and open it into a rounded shape. With wired ribbon, bend the edges until each loop stands up without help.
To hide the binding, take the short separate piece of ribbon, wrap it once around the center of the bow as a small loop and secure it at the back with double-sided tape, or tie its ends behind the bow. This little center loop is what makes the bow look finished.
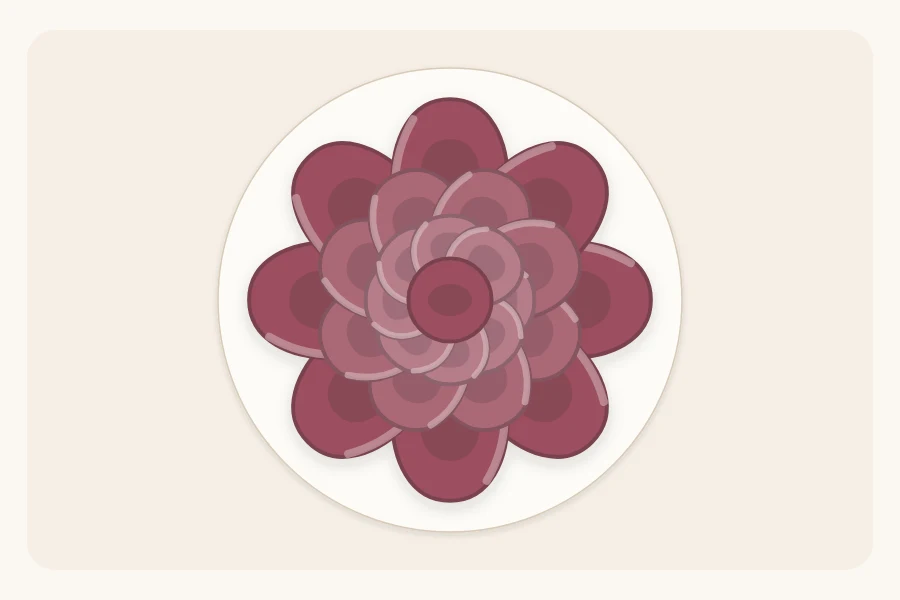
Trim both tails on a diagonal or cut a V notch into each, the same way as for a tied bow. The cutting method is described under the tails section of how to tie a bow on a gift box.
Attach the bow to the gift
There are two reliable ways to fix a layered bow in place.
- Tie it on. Wrap a ribbon around the box first, then use the long ends of the binding to tie the bow to the point where the ribbon crosses. This is the most secure option for heavy bows.
- Stick it on. Press a strip of double-sided tape onto the flat back of the bow and set it on the paper. This suits lighter bows and gifts with no ribbon around them.
A large bow needs a firm, flat surface beneath it, so make sure the paper is pulled tight. If the wrapping underneath is loose, revisit how to wrap a box of any size before adding the bow. Slip a tag under the bow or tie it to the binding; the guide to attaching a gift tag shows the knots.
Fixing common problems
- The loops are uneven. Undo the binding and refold. Comparing each loop with the one opposite before you pinch helps more than measuring.
- The bow looks flat. Add another pair of loops, or use wider or wired ribbon so each loop has more body.
- The wrong side shows. A half twist at the center was missed. Turn that loop inside out by hand, or refold from that layer.
Tip
For a softer, mixed look, tuck a few spiral strands under the finished bow. They are quick to make once you know how to curl ribbon with scissors.
Layered bows are especially handy when several presents need to match, since the same bow in one ribbon ties a whole stack together. See the Christmas gift wrapping ideas for ways to build a coordinated set.
Frequently asked questions
Can I make a layered bow without wired ribbon?
Yes. Grosgrain and stiff satin both fold into layered bows, although the loops will sit flatter and cannot be bent into shape afterward. Keep the loops shorter than you would with wired ribbon so they hold themselves up, and bind the center very tightly so the layers do not slide apart.
How many loops should a layered bow have?
Six loops, folded as three pairs, is a good starting point for a medium box and gives a full, round bow. Small gifts look better with four loops, and large boxes can take eight or more. Add loops in pairs so the bow stays balanced on both sides of the center.
Can I make ribbon bows ahead of time?
You can. Because a layered bow is made separately from the gift, it can be finished days in advance. Store the bows in a box deep enough that the loops are not pressed flat. Wired loops that get squashed can simply be reshaped with your fingers before the bow goes onto the gift.