How to Wrap a Gift: A Step-by-Step Guide for Beginners
Learn the standard box wrap from start to finish: cutting the paper to size, taping the long sides, folding neat ends and sharpening the edges.
Tutorial at a glance
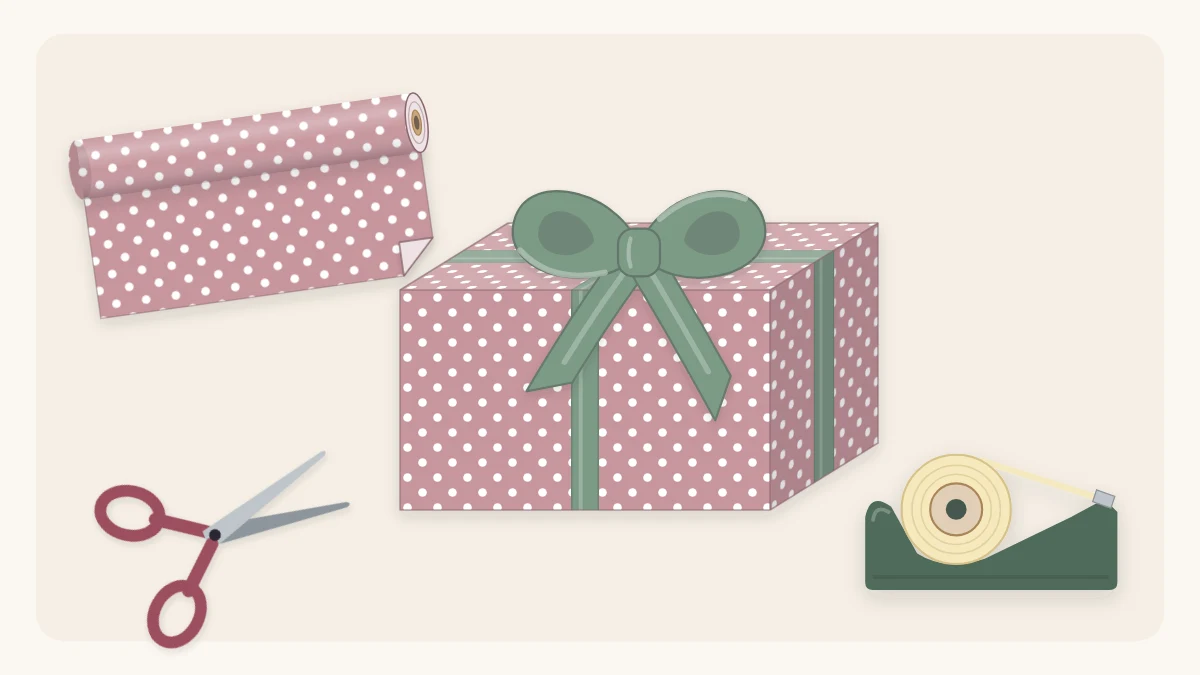
Materials
- A rectangular gift box
- Sharp scissors
- Clear or double-sided tape
- Ruler or bone folder
- Gift tag
Learning how to wrap a gift neatly takes one box, one sheet of paper and about ten minutes. The method below is the standard box wrap: the seam hides on the bottom, the ends fold into tidy points, and every edge is creased sharp.
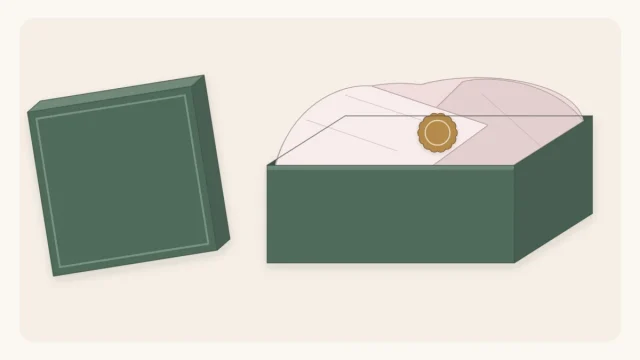
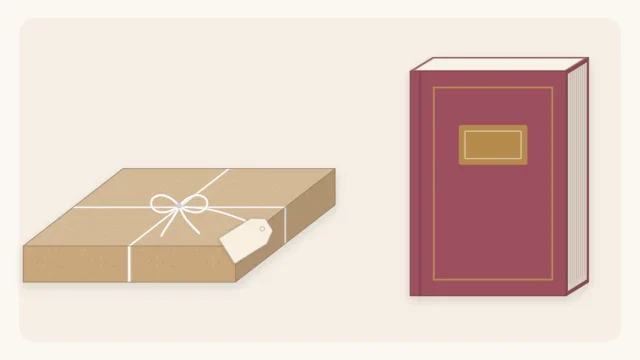
Start with a plain rectangular box. If the present is soft or awkward, put it in a box first. A firm shape with flat sides is far easier to wrap than a sweater or a toy on its own, and it gives you a fair first try.
What you need
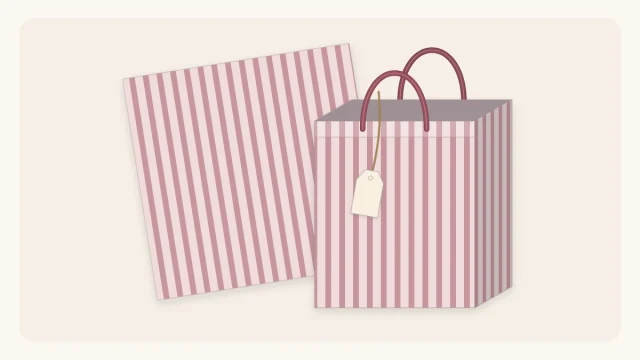
- Medium-weight matte wrapping paper, which folds cleanly and forgives small mistakes
- Sharp scissors
- Clear tape, or double-sided tape if you want the tape hidden
- A ruler, plus a bone folder if you have one (a thumbnail does the same job)
- Ribbon and a tag for the finish
That short list really is enough. If you are building a kit from scratch, the guide to gift wrapping supplies explains what is worth having and what can wait.
Clear a table before you begin. A hard, flat surface makes straight cuts and firm creases much easier than a bed or a carpet. Scissors are sharp, so give adult help to any child who is cutting.
Cut the paper to size
Most messy wrapping starts with a sheet that is too big. Extra paper has nowhere to go, so it bunches at the ends and wrinkles.
You need two measurements. Around the box, the paper should circle the girth once and overlap by about 2 in (5 cm). Along the box, it should stick out past each end by a little more than half the height of the box; about two-thirds of the height is comfortable.
You can skip the math. Set the box on the unrolled paper, roll it over its four sides to see how much it takes to go around, add the overlap and cut. For more detail, see how to measure wrapping paper.
Wrap the long sides
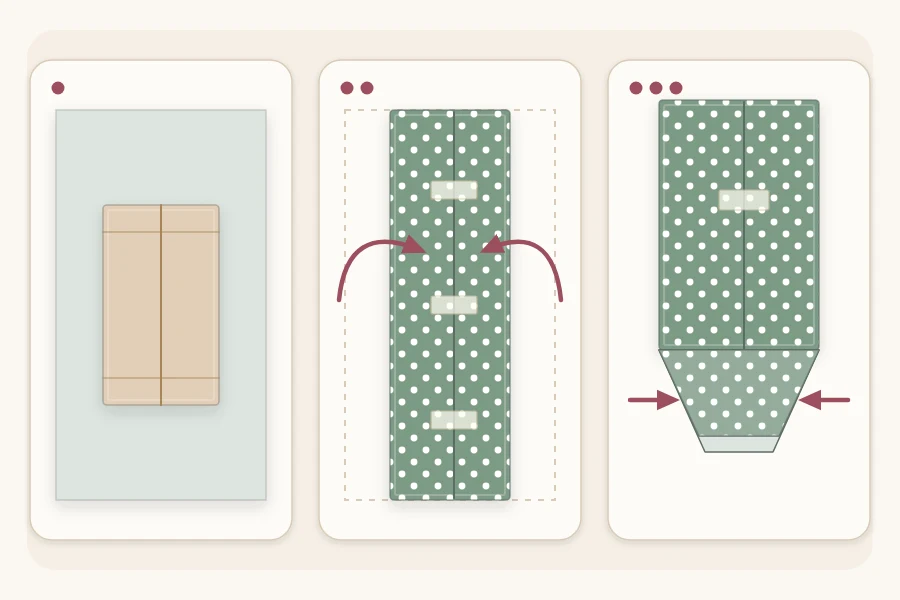
- Lay the paper pattern side down. Place the box upside down on it, so the bottom of the box faces you. The seam will end up on the bottom, out of sight.
- Bring one long side of the paper up and over to the middle of the box. Tape it directly to the box.
- On the other long side, fold under about 1/2 in (1.3 cm) along the edge. This gives a clean folded edge instead of a raw cut one.
- Pull that side snug over the first and tape it down. A strip of double-sided tape under the fold hides the tape completely.
Before you tape, check that the box sits in the middle of the sheet, with the same amount of paper showing at both ends. Slide it now if it does not; you cannot fix this later.
Fold the ends
You now have a paper tube with two open ends. Work on one end at a time and keep the box flat on the table.
- Push the top flap straight down, flat against the end of the box. Two diagonal folds form at the sides. Crease them with your fingers.
- Fold the two side flaps in toward the center, pressing them against the box.
- The bottom flap is now a point, shaped like a triangle with its tip cut off. Crease its edges.
- Fold that flap up against the box and tape it.
- Turn the box around and repeat at the other end.
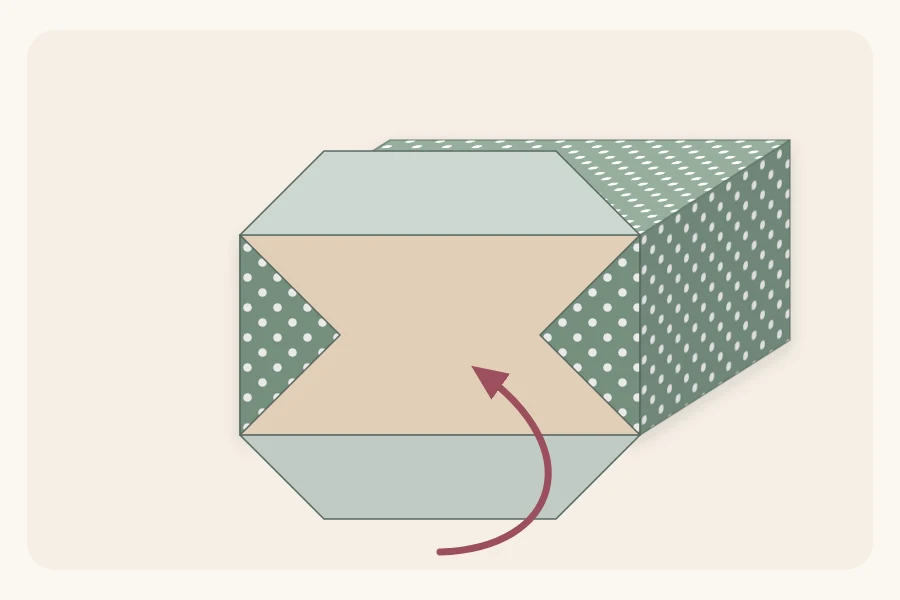
If the point reaches past the top edge of the box, the end paper was too long. Open the flap, trim a little and fold again. The lesson on folding clean corners goes through this end fold slowly, crease by crease.
Sharpen every edge
Turn the gift right side up. Pinch along each edge of the box, or run a thumbnail or bone folder down it, so the paper holds a crisp line. This takes a few seconds and changes the look more than any other step.
Tip
Tight paper comes from pulling snug before each piece of tape. Tug gently, hold, then tape. Do not tape first and hope it tightens.
Fix common beginner problems
- Bulky ends: too much paper past the ends. Trim it before folding.
- Loose, puffy paper: the first side was not taped to the box, or the second was not pulled snug.
- Torn corners: thin glossy paper tears at box corners. Switch to matte or kraft paper, and pull less hard.
- Crooked seam: the box was not square to the edge of the paper. Line one side of the box up with the cut edge before you start.
- Tape everywhere: three or four short pieces are enough for a small box. Use short pieces and press them flat.
Add ribbon and a tag
A wrapped box looks finished once it has a ribbon. Lay the ribbon across the top, take both ends under the box, cross them, bring them up the other two sides and tie at the center. The guide on how to tie a bow on a gift shows how to keep the loops straight and trim the tails.
Write the names on the tag before you attach it; writing on a tag that is already tied on is awkward. Then tie it into the bow knot or slip it under the ribbon. There are more options in how to attach a gift tag.
Keep ribbon, twine and small decorations away from babies and pets.
Practice on an empty box
The end folds feel fiddly the first time and natural by the third. Wrap an empty box with scrap paper or newspaper once or twice before using your good paper. You will quickly see how much paper the ends need and how snug to pull.
Once the basic wrap feels easy, the same steps work for almost any box. Only the measurements change.
Frequently asked questions
Which side of the box should the seam be on?
Put the seam on the bottom. Place the box upside down on the paper before you start, so the overlap and the tape end up underneath when the gift is turned over. The top face then shows one smooth, unbroken panel of paper, which is the side people see first.
What is the easiest wrapping paper for a beginner?
Medium-weight matte paper is the easiest to learn on. It folds cleanly, holds a crease and does not tear at the corners as readily as thin glossy paper. Kraft paper is another forgiving choice. Foil and metallic papers are harder, because every accidental crease stays visible and tape slides on the surface.
How do you wrap a gift that is not a box?
The simplest answer is to put it in a box and wrap the box. Soft items such as clothing can also be folded into a neat rectangle and wrapped in tissue first. Round or very awkward items are usually easier in a gift bag or a gathered pouch than in a flat sheet of paper.