How to Tie a Bow on a Gift Box
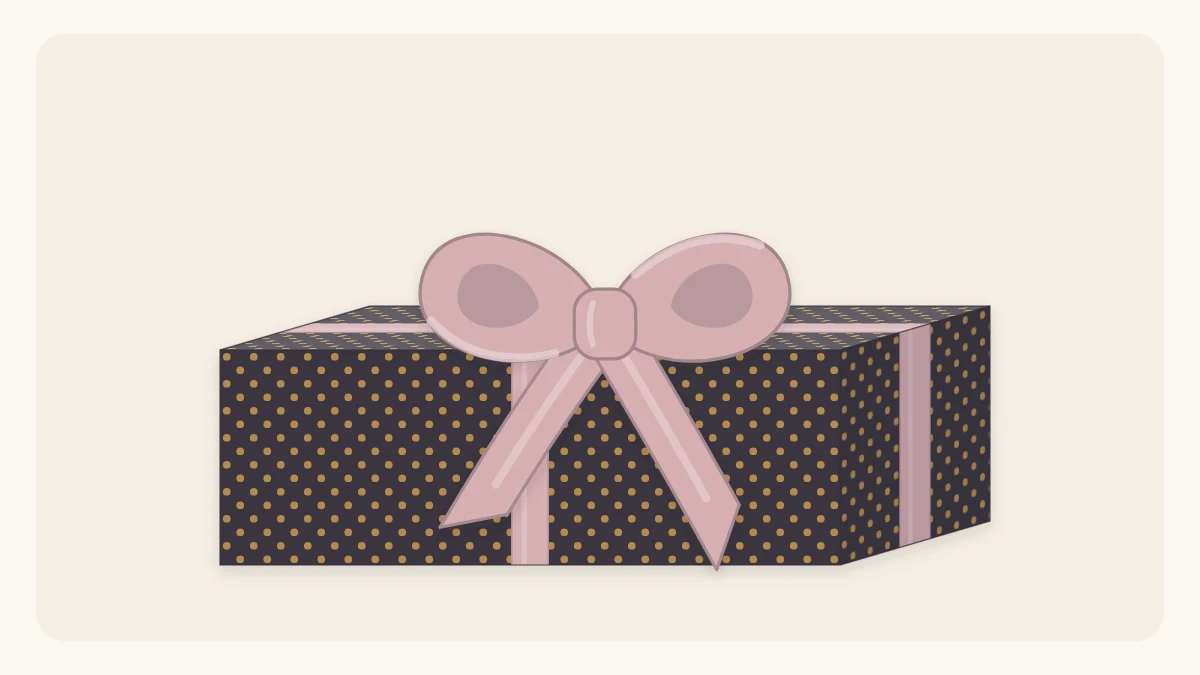
Cross a ribbon around a wrapped box, tie a bow whose loops sit straight, and finish the tails with a diagonal cut or a V notch.
Tutorial at a glance
Materials
- A wrapped gift box
- Ribbon on the spool
- Sharp scissors
- Gift tag (optional)
Learning how to tie a bow on a gift comes down to two small skills: getting the ribbon around the box so it lies flat, and forming the loops in the right order so they sit straight instead of tilting. Neither is difficult once you know which end does what.
This method uses a single length of ribbon crossed around the box and tied on top. It works on any rectangular or square box, and the same bow can be tied on a bag handle or a bottle neck.
Choose a ribbon that suits the box
Width is the first decision. A ribbon that is too wide swamps a small box, and a very thin one looks lost on a large box.
- Small boxes: about 1/4 to 3/8 in (6 to 10 mm) wide.
- Medium boxes: about 5/8 to 7/8 in (16 to 22 mm) wide.
- Large boxes: about 1.5 in (38 mm) and wider.
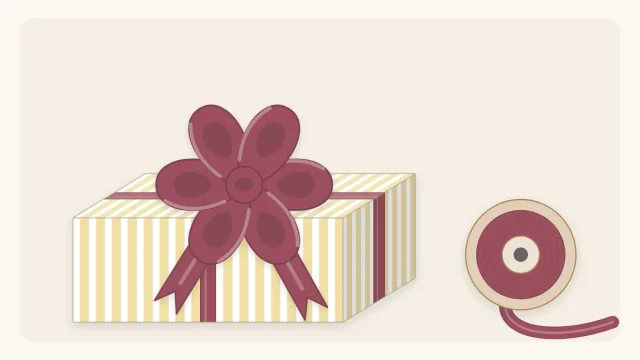
Material matters too. Grosgrain has a ribbed surface that grips its own knot, which makes it the easiest ribbon for a first attempt. Satin is smooth and has a sheen, but it is slippery, so the knot needs a firm pull. Double-faced satin looks the same on both sides, which hides any accidental twist. Wired ribbon holds shaped loops and suits big bows, while baker’s twine and jute twine give a casual finish and grip well.
How much ribbon you need
For a cross-tied ribbon with a bow, a rough guide is twice the box length, plus twice the width, plus four times the height, plus about 24 in (60 cm) for the bow itself.
As an example, a box about 10 x 7 x 3 in (25 x 18 x 8 cm) needs 20 + 14 + 12 in around the box, plus 24 in for the bow. That comes to about 70 in, so allow roughly 2 yd (1.8 m).
Tip
When you are unsure, do not cut at all. Tie the ribbon straight from the spool and cut it free once the bow is finished. Nothing is wasted and you cannot run short.
Cross the ribbon around the box
Start with a box that is already wrapped, seam side down. If the paper is loose, the ribbon will only make it look worse, so it is worth reviewing how to wrap a gift neatly first.
- Find the middle of the ribbon and lay it across the center of the top of the box, running along the length.
- Hold the ribbon in place with one hand and take both ends down the sides and under the box. Lifting one end of the box slightly is easier than turning it over.
- Underneath, cross the two ends over each other and give them a quarter turn, so each one changes direction and heads toward one of the other two sides.
- Bring the ends up those two sides to the center of the top. Check that the ribbon is flat everywhere, with no twists showing on the top face.
- Slip one end under the ribbon already lying across the top, pull both ends snug and tie a half knot, the first half of tying a shoelace.
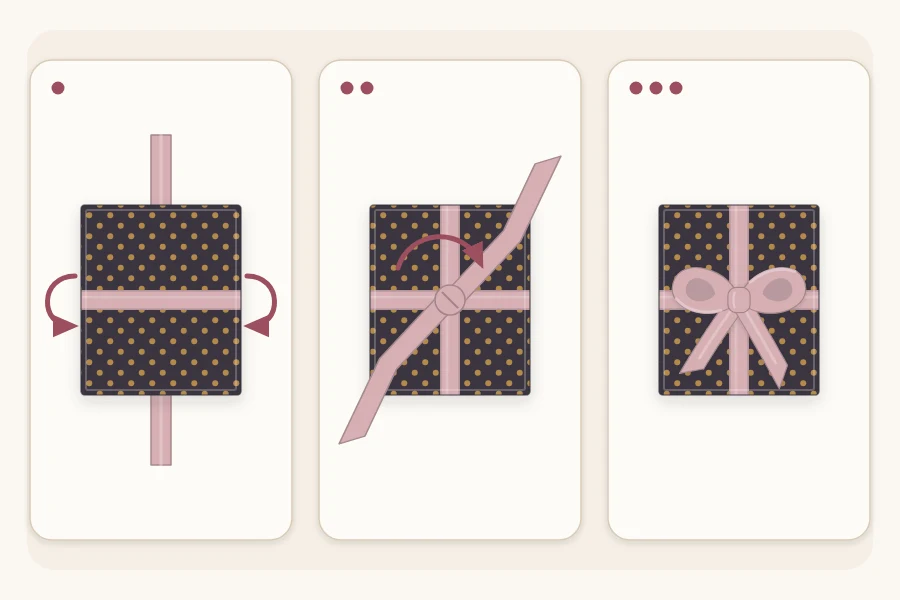
After the half knot, one end points up and away from you and the other hangs down toward you. That difference is the key to the next step.
Tie the bow so the loops sit straight
- Make a loop with the lower end, the one hanging toward you. Pinch its base right against the knot.
- Bring the upper end down over the front of that loop.
- Carry it around behind the loop and push a fold of it through the small opening that has formed underneath, next to the knot. This fold becomes the second loop.
- Pull both loops outward, gently and evenly, until the knot tightens.
- Adjust the loops first, tugging each one until they match. Then pull the tails to even those out. Changing the tails first will shrink the loops again.
The order matters because of how the knot stacks. When the wrapping end comes down over the front, the finished loops lie flat across the box, left and right. If it goes up and around from behind instead, the bow twists and sits crooked, one loop up and one down.
Finish the tails
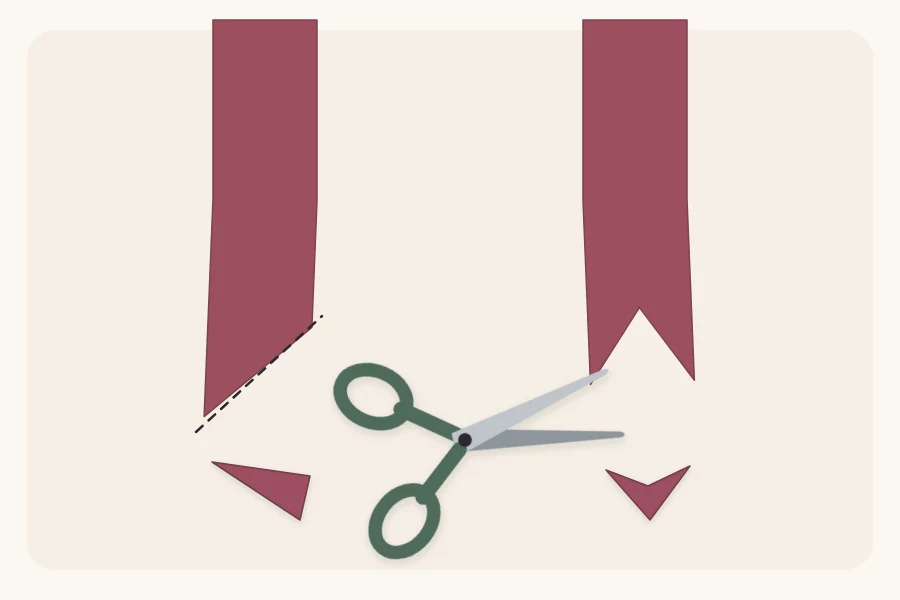
Raw, straight-cut ends make even a good bow look unfinished. Two cuts solve this.
- Diagonal cut: snip each tail at a slant, angling both tails the same way or as mirror images.
- V notch: fold the end of the tail in half lengthwise, then cut at an angle from the folded side toward the open edges. Unfold it to reveal a swallowtail.
Tails look balanced when they are about as long as the loops, or a little longer.
Fixing common bow problems
- The bow sits crooked. The loop was made with the upper end. Untie back to the half knot and start the loop with the lower end.
- The ribbon slides off the corners. It is too loose. Pull it snug before the half knot and keep a finger on the knot while forming the loops.
- The loops droop. The ribbon is too soft or wide for the bow size. Make smaller loops, or switch to grosgrain or wired ribbon.
- The ribbon is twisted on top. Slide a finger along it from the knot to the box edge to flatten it before tightening.
- The knot keeps loosening. Slippery satin needs a firmer pull, or wrap the half knot twice before forming the loops.
Variations and finishing touches
The cross tie is not the only layout. A single band around the width with the bow off to one side looks modern and uses far less ribbon. Two parallel bands with one small bow suit long, flat boxes.
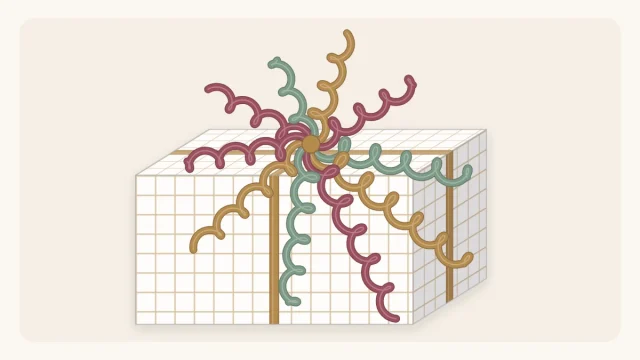
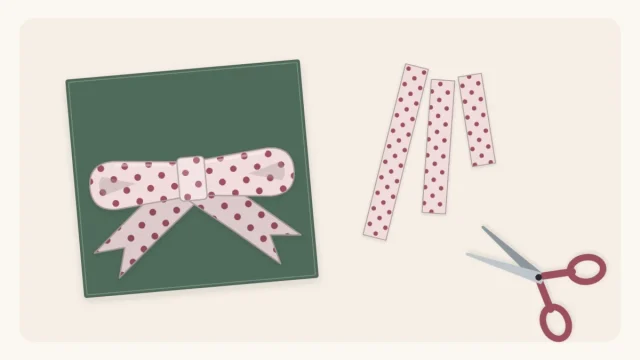
For a fuller look than a two-loop bow can give, make a layered ribbon bow by hand and tie it onto the crossing point. For something playful, knot a few strands of curling ribbon under the bow and follow the steps for curling ribbon with scissors.
A tag belongs here as well. Thread it onto one ribbon end before the half knot, or tie it in afterward; both approaches are covered in how to attach a gift tag. Remember to write the names on it first.
Frequently asked questions
Why does my bow always turn out crooked?
A bow tilts when the first loop is made with the wrong end. After the half knot, form the loop with the end that hangs lower, then bring the other end down over the front of it and around. The loops will then lie flat across the box instead of pointing up and down.
How much ribbon do I need to tie a bow around a box?
Add twice the length of the box, twice the width and four times the height, then add about 24 in (60 cm) for the bow. A medium box usually takes roughly 2 yd (1.8 m). If you would rather not measure, tie directly from the spool and cut once the bow is done.
What is the easiest ribbon for beginners to tie?
Grosgrain is the most forgiving. Its ribbed texture grips itself, so the half knot stays put while you form the loops. Satin looks smooth and elegant but slides easily and needs a firmer pull. Wired ribbon is helpful for large bows because the loops can be shaped by hand afterward.